
SHORT ANSWER
For glass railing hardware on stairs, start with the stair layout and intended fixing approach, then confirm the glass information, supporting structure, post or clamp route, finish, quantity and destination. A railing post, clamp or point fixing is a product family reference; it is not a complete railing solution until the project condition is checked.
Stair projects introduce changes in level, angles and support positions that cannot be read from a single product image. This guide helps a buyer prepare a focused glass railing hardware for stairs enquiry without implying that a general component is suitable for every stair condition.
The short answer
Send a stair elevation or clear site photos that show the run, landings, glass line and support locations. Add the intended fixing route, glass schedule, support material, dimensions, finish, quantity and project location. Where the design is still preliminary, identify the unknowns rather than selecting a component by appearance.
1. Start with the railing layout
The first decision is the visual and fixing layout: posts, clamps, point/fin fixings or another defined system direction. Mark where the glass starts and stops, whether there are landings, and how the support changes along the stair. A level balustrade and an inclined stair run may share a visual language but should not be treated as the same detail.
Useful first files include a stair elevation, a reflected plan, annotated site photos or a simple sketch with dimensions. The goal is to make the glass route and support conditions visible before discussing a specific clamp or post.
2. Confirm the fixing route and support
Describe what the hardware must attach to. Is the intended route a post, a slab edge, a wall face, a stringer or another supporting condition? Include photos and available drawings of the support. The fixation route determines which product family is relevant and which project details need later confirmation.
Show the run, landings, glass line, slopes and changes in support position.
Identify posts, clamps, point/fin fixing or another intended product route.
Provide the supporting structure, material, face and available connection details.
Attach the glass schedule, dimensions and available hole/drawing information.
State finish, quantity, destination and the stage of the design review.
3. Treat glass information as a required input
Glass thickness, build-up, holes and edge conditions should be read from the project information, not assumed from a product photograph. If these details are not finalized, say so in the enquiry. A preliminary product direction can then be separated from the glass and support conditions that require confirmation.
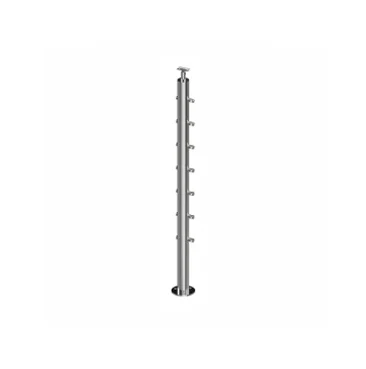
Use the glass railing hardware range to explore available families. The railing posts section and glass clamps section are different routes with different information requirements. Keep them separate until the layout and support condition are clear.
A stair railing enquiry checklist
- Stair elevation, plan or clear annotated photos.
- Glass line, run, landing and support locations.
- Intended product route: posts, clamps, point/fin fixings or unknown.
- Support material and any available connection drawing.
- Glass schedule and available hole information.
- Finish, quantity, destination and required timing.
For a façade-style glass connection, use the separate point-fixed glass fittings enquiry guide. The product names may overlap, but the project conditions and review path are different.
Frequently asked questions
Can I choose stair railing hardware from a straight-run photo?
A photo can begin the discussion, but it may not show landings, support changes, glass information or the intended fixing route. Add a drawing or wider views where possible.
Are glass clamps and railing posts interchangeable choices?
No. They are distinct product directions. Select the route only after the layout, support and glass condition are understood.
What if the final glass specification is not ready?
Submit the available layout and identify the glass specification as pending. Do not treat a preliminary product direction as final approval.
References
NEXT STEP
Make the stair condition visible before choosing a hardware family
Share the layout, support and glass information. Fenrova can then identify an appropriate product direction and the information still needed for a project review.
Start a project matching request →